1. Home 14.
July 10th
2. Motor Installation 15.
Aug 5th (almost done!)
3. Painting the Interior 16.
October 2nd
4. Rewiring the Gauges 17.
November 4th
5. Test Drive! 18.
January 1st
6. Intercooler Fabrication 19.
February 15th
7. June 18th 20.
July 14th
8. June 23rd 21.
October 23rd
9. January 26th 22.
January 7th 2003
10. February 6th
 
11.
April 25th

 
12.
May 2nd


13.
June 2nd

Junk Page


Well, Here I am again for another month. I have been working my butt off for my job and have just about got all my bills paid off. Christmas was a pain and a huge hit in the wallet, but everyone had fun and got what they wished for. Except for poor FourBanger. She's been sitting on my front lawn for a couple of months now awaiting modifications. I had to spend about a thousand bucks on my 90 5.0 mustang's front end, blown out tire and brakes over the holidays, so I've been out of funds for my upgrades to FourBanger. She's pretty sad. BUT! There's light at the end of the tunnel this time!


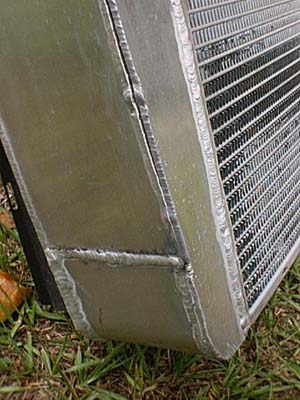
When I made the last update around October, I had been experimenting with boost pressures and my air/fuel ratios. Well, to make a long story short, I made a couple of 30 psi bursts down the local road and the aluminum welds on my intercooler had something to say about it. I put a crack in the side of my intercooler about 6 inches long. You can see the crack in the pic below. It runs top to bottom along the vertical weld.


I didn't realize what had happened at the time. I noticed that my boost was slowly decreasing and I immediately figured that my turbo was finally biting the bullet. So what do I do? I pull off my old turbo and start looking for a new turbo right away, without even checking to see if it was in fact the intercooler leaking. LOL.
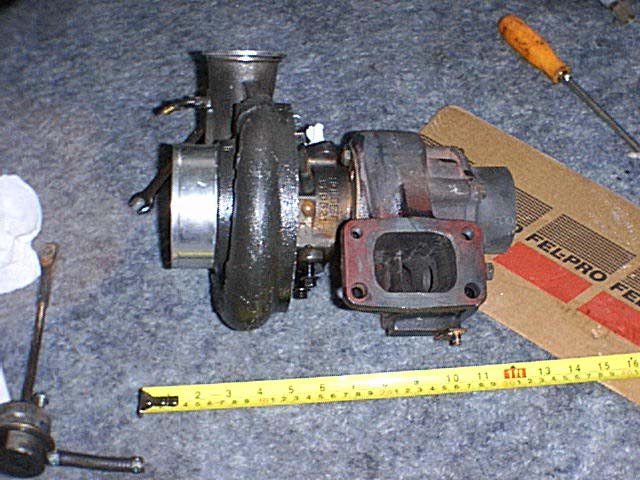
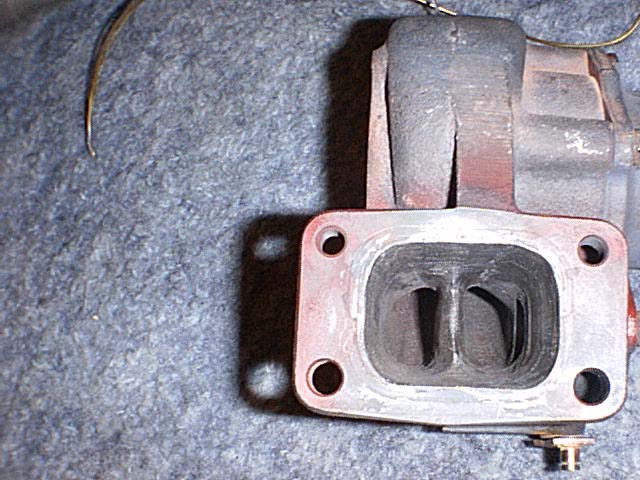
I have had my eye on this turbo called a Holset HX35 for a while by then. So I checked around, located one and then bought it. Many people said it was too big and that a 2.3 doesn't make enough exhaust energy to spool up a turbo of it's size. But after getting this thing home and inspecting the dimensions of it, I found that although the turbine is huge, it has a divided housing. And although the two put together require a large mass of air to spin, I found that the compressor wheel was just as large. All in all, I can't really say what it was that made me believe that it would spool up. I just had this feeling. It seemed to have twice the A/R on the turbine compared to the stock Garrett. So I figured that worst case scenario, it would spool up at 5000 rpm. But I was envisioning lower than that. I figured around 4000 rpm to 4500 should give me a decent amount of rpm left to make a 1/4 mile run.


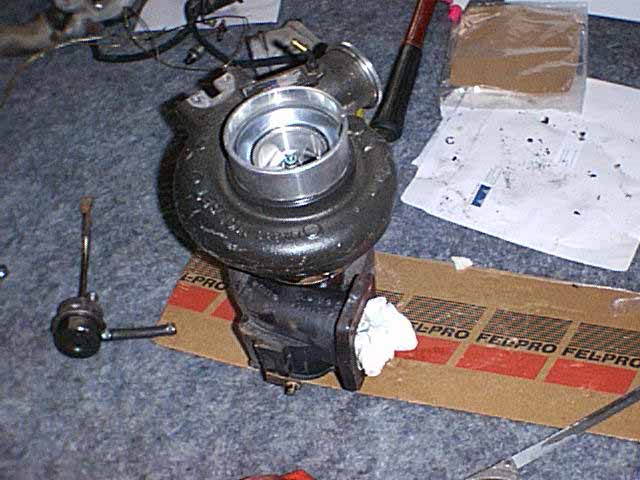
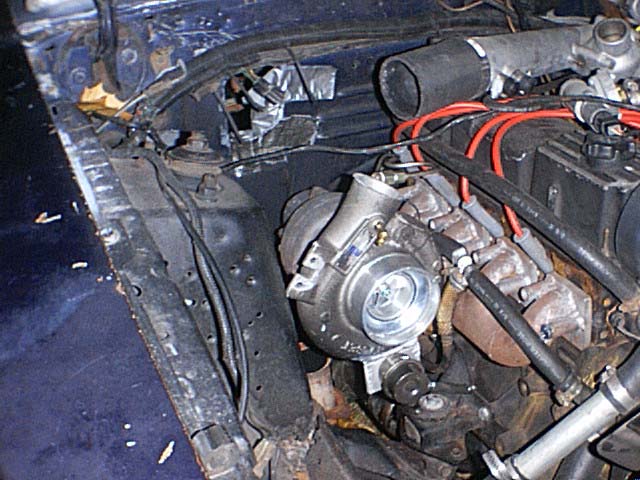
Here are some pics of my new turbo. It's a Holset HX35 off of a Cummins 6 cylinder Diesel. Not only does it dwarf the stock Garrett turbo, but the compressor and turbine wheels are huge too! It should flow crazy amounts of air, and from what I've seen on the compressor maps, it should be efficent well into the 30 psi range! Drool.

So, what I did was I got my friend to torch the division of the turbine inlet back about three inches to allow a better angle of air flow through the turbo and to the waste gate. I then knife edged the division just to smooth out any turbulence.


This turbo has an internal wastegate that is large enough for a V8. That means that I don't have to go to an expensive external wastegate and won't have boost creep in the upper rpm ranges.


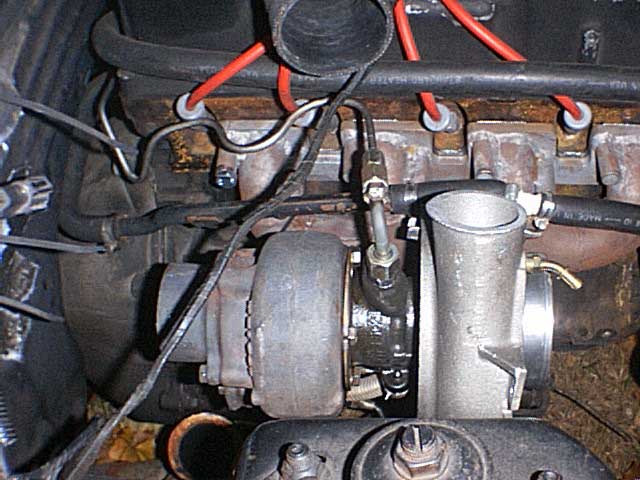
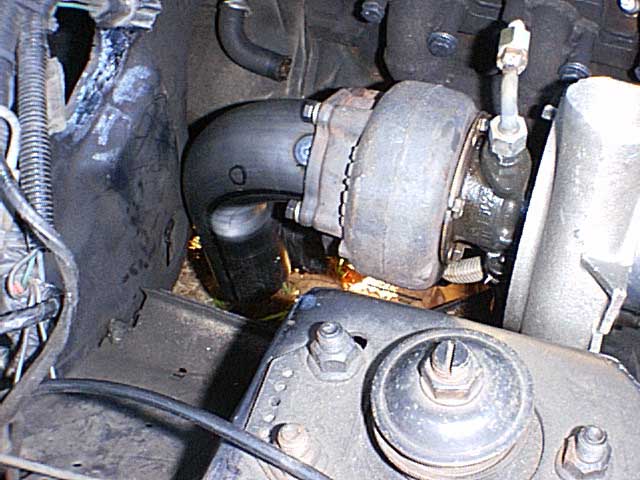
Below are some of the first "Test Mount" pictures that I took. I mounted the turbo on a "Bob's Big Log" header I bought online. As you can see, this turbo is massive. It barely fits in between the header and the strut tower. But it does fit and no modifications had to be made to the header. It uses a standard T3 flange.
I did have to relocate the wastegate's mounting location when I rotated the compressor housing. You can see it mounted on the bottom of the compressor housing now. The old mount, which is now located at 10' O clock, will be removed soon.


Below is my own custom made oil feed line. I bent it from a stock line then cut the the end off and had a hydrolic line company flair the end to connect it to the Dodge turbo's oil line.


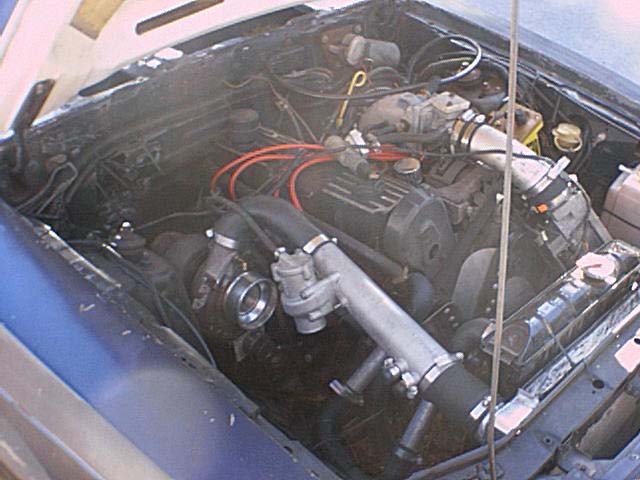
The picture below is of FourBanger in Prototype Mode. Everything is hooked up except the exhaust. I used radiator hose to make the 90 degree bend from the top of the turbo to my boost pipe. Fits great.


Ok, so here's the big story. Does it spool?

Now understand that the car doesn't have any downpipe on it yet and exhaust is blowing straight into the car's interior through the open A/C hole in the firewall. hehe. So I crank her up and she fires right off. I let her warm up and I topped off the radiator with water. After a short warm up time, I did a quick 200 foot run to see if I would be able to get any boost. The road in front of my house was too short to do anything but stab for 3 seconds and let out. But I heard the turbo make that wonderful sound over a fuggin loud ass exhaust. I saw roughly 3 pounds of boost at about 2500 rpm.
That little run gave me chills just to know that it just might work. So after a 5 minute cool down time, I couldn't resist the temptation anymore. I went out on the road in front of my house and decided to stab the gas and stay in it till I saw boost. That would tell me if I should continue with welding up a downpipe and what-not.
Well, this is how it went down:
I started out from about a 1 to 2 mile per hour roll. I reved the gas and slid the clutch till it locked up at 2500 rpm. By that time I was on the gas hard. I stayed in it till around 3800 rpm when I saw the needle rocket up past 25 pounds of boost. By the time I reacted to let off the gas, the boost gauge showed ~28-29 psi of boost at ~4000 rpms!!!  HELL YEA!!!
It worked. And I haven't been the same since. LOL

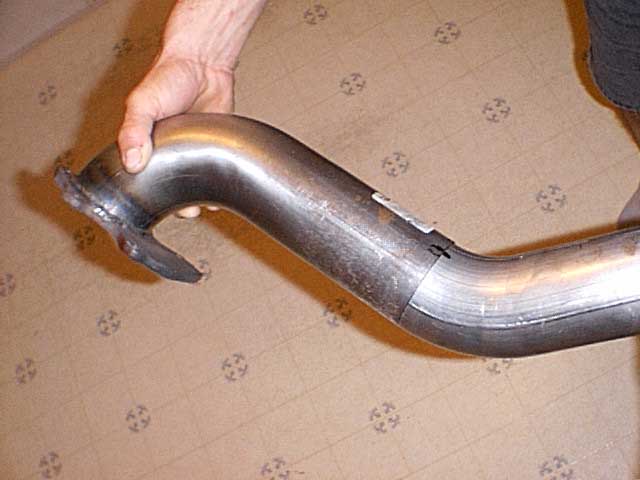
Now that I know that this new monster turbo works and that my little 2.3 DOES HAVE ENOUGH EXHAUST ENERGY, I can continue with making a custom down pipe for it. The new down pipe is being made from the Holset flange and a mandrel bent 3" exhaust pipe. This is what I started with.
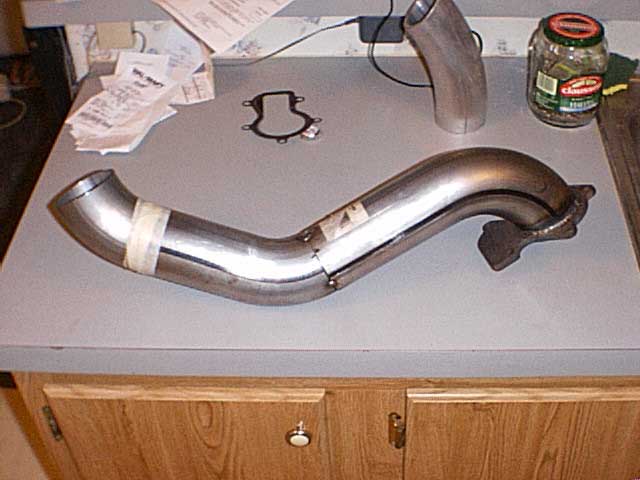
I took the stock flange, milled it flat and welded a 90 degree mandrel bent 3" pipe on it.


In the pic below, I got my friend Rob to hold the two new down pipe pieces together on the mark while I took a few pictures.


Next is the almost completed down pipe. I have to weld a 3" ball and socket connector on the end. But that's about it. It should flow great.


Next>>