8-29-05 Wow, Time really
goes quick when your busy! It's been months since my last update. I know..I
know... I'm in trouble. hehe After I got the fiberglass doors on and aligned,
I decided to put a one-piece fiberglass front end on FourBanger. I bought it
from hairyglass.com. I brought it home and unpackaged it to test fit it on the
front end. This front end is about 2 inches longer than a standard nose. This
means I'm going to have to extend the cowl hood to fit. The fender area by the
doors was about 7 inches longer than stock. You can see in the picture below
that the fender goes all the way up to the windshield. This extra material will
have to be trimmed down. I had to make my own custom mounts to mount this nose
onto my car. Mostly round bar and tzus fasteners will be used to secure
it.
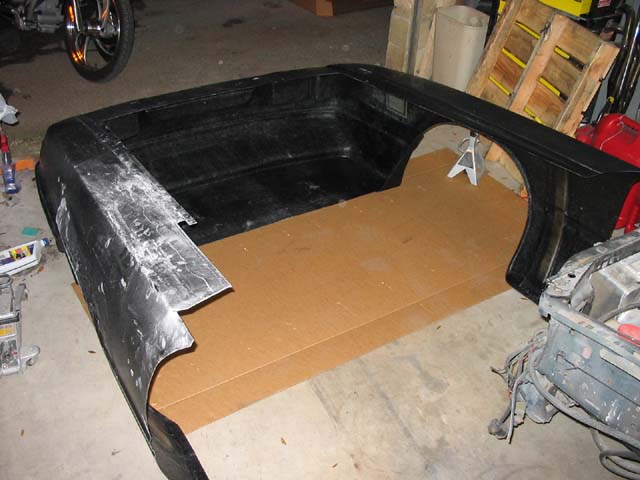
Here is the first test
fit of the new glass front end. The underside of the nose goes all the way under
the radiator support. It should provide good aerodynamics.
Here is a view of the extra
material that needs to be cut from the new front end. It was originally made for
a pro-mod style mustang. I will adapt it to fit my stock car. Hopefully, it will
blend in and won't be too noticeable. I'm going for the "wolf in sheep's
clothing" look.
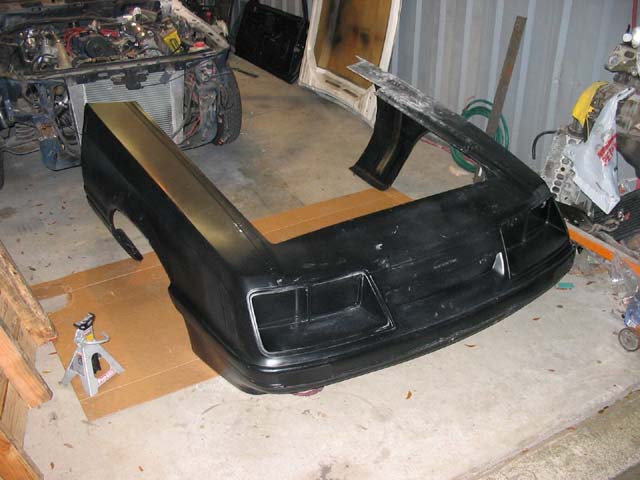
The new nose on the ground.
Here, I'm assessing what needs to be cut out so it will fit. All of the material
behind the headlights needs to be cut out so I can fit my hood on.
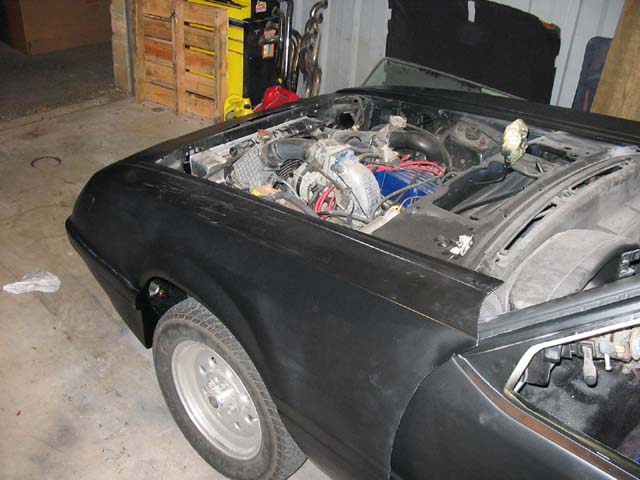
Here I've started making the
first relief cuts into the fender area so the front end will sit level on the
car. From here, I will create brackets to begin mounting the front end.
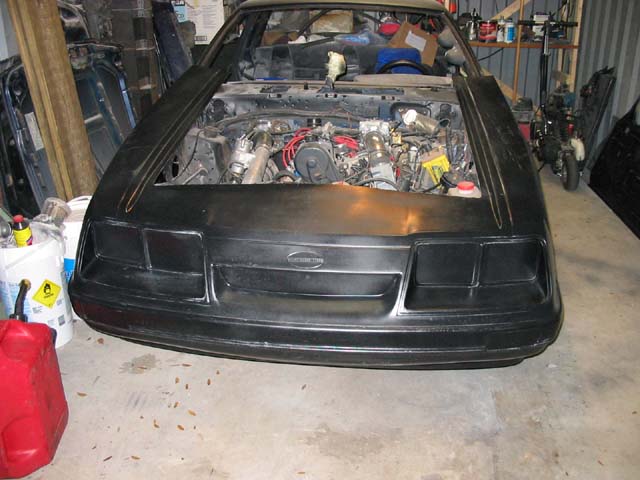
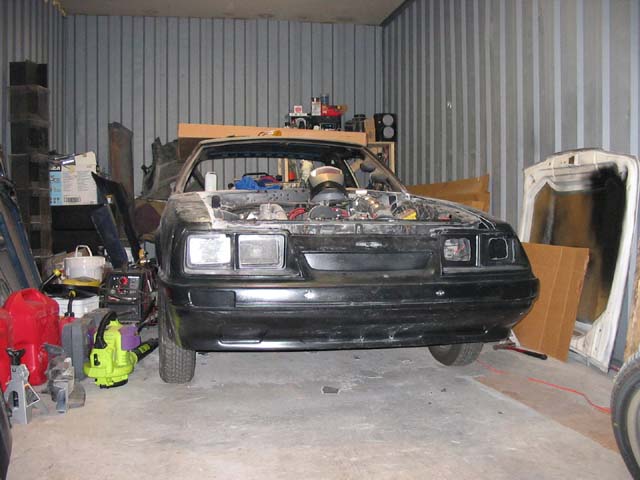
After MANY relief cuts.... The
new front end is mounted!!! I used 3 tzus fasteners in the nose, one tzus
fastener per side in the cowl area by the windshield, and two fasteners per side
down by the body molding. I will be adding a few more fasteners on the bottom of
the nose under the radiator support. The whole front end is very secure. I doubt
i'll have any problems with it coming loose. The next thing to do is extend
the hood about 2 inches to cover the gap that is next to the windshield/cowl
area.
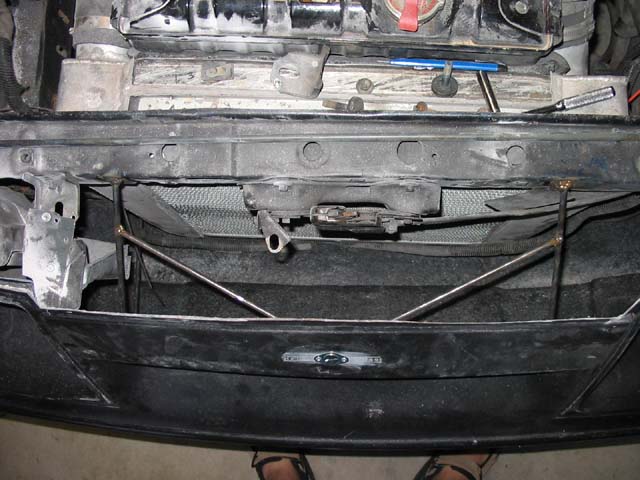
Here you can see the round bar I
used to make my front mount support system. One fastener is in the Ford logo
location, and two fasteners are in the front bumper area.
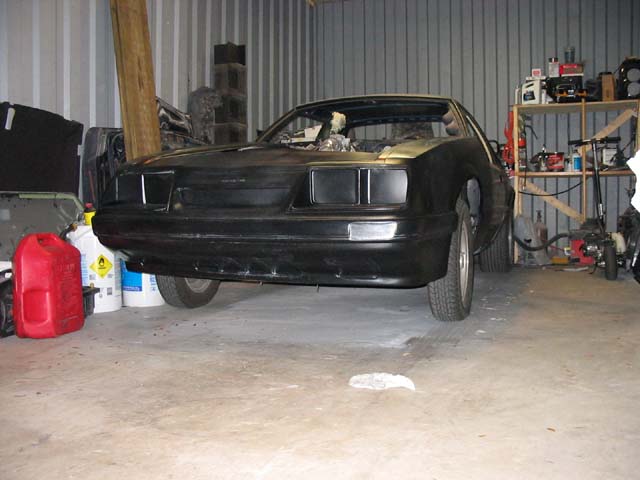
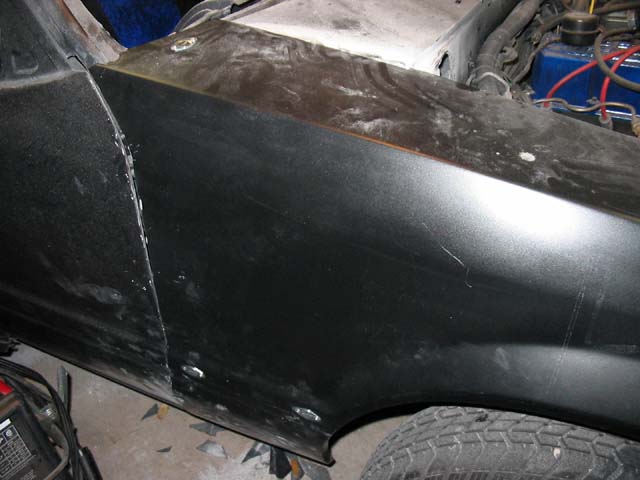
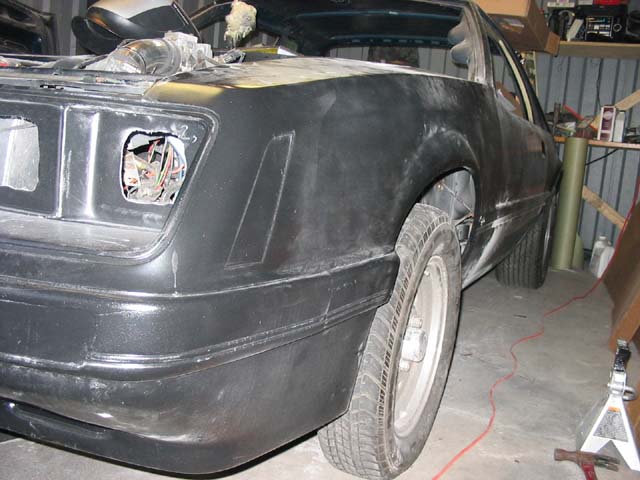
The side is
trimmed and mounted. One fastener is in the upper area by the windshield and two
along the body molding area. Per side. These fasteners will be hidden by the
windshield trim and the body molding. Nobody should be able to tell that this is
a fiberglass front end. It looks pretty stock. hehe
One of the hardest things about
this nose is it's alignment to the doors and the rest of the car. I spent many
hours trying to get the right angles for the fasteners. Now I had to extend
the headlights about 2 inches forward so they fit in the extended nose, and cut
out the side marker light holes. VERY time consuming!
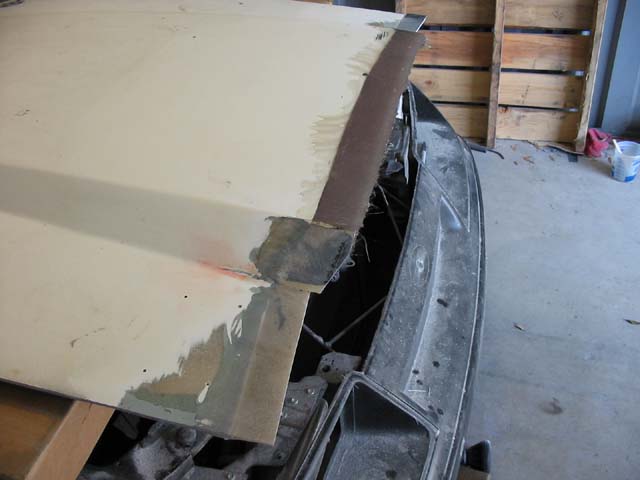
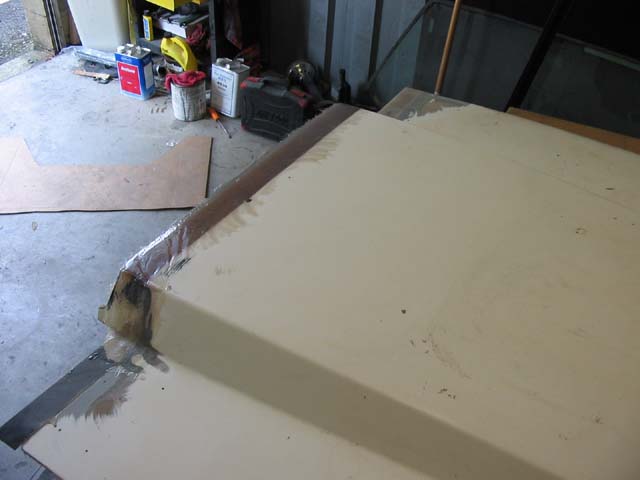
Now the headlights are in. I
still have to trim some fiberglass around the headlights. Here you can see my
hood and how I have extended the back area. I used extra flat pieces of
fiberglass to make the hood area's extension. I used cardboard covered with
aluminum foil as a mold so I could lay fiberglass down for the cowl. It came out
perfect. In the below pics, I was finished with the drivers side of the hood
(left side of this picture) and just beginning to work on the passenger
side.
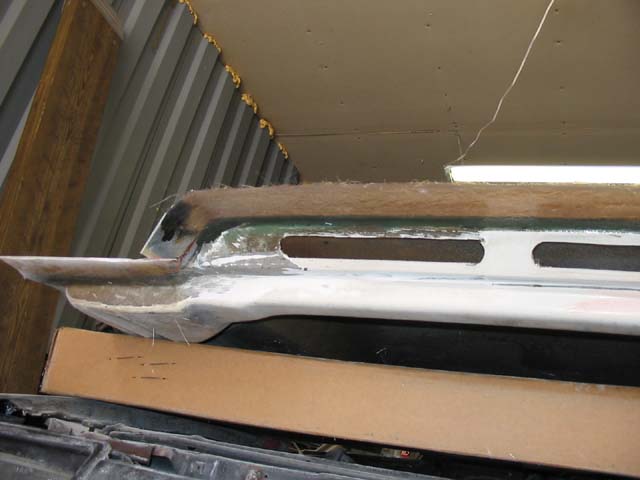
Finished side. Awaiting some
duraglass/bondo.
I had to modify my hood hinges so
they would accept my extended hood. I had to modify the arc in which the hinges
swing. I used some old hood hinges to add pieces of hinge arm onto my good ones.
It worked perfect first time I tried them.
Well, That's it for now. I
should have the hood all trimmed up this week. Not much left to do on the
front end. It's almost ready for paint!
I'll try to get some pictures of
the full car this week. Fiberglass itches........