Still in Painting
Stages..... While I was looking at FourBanger on day, I decided
that I didn't want to repair the little bit of rust on the factory doors. So I
went and contacted HO Fibertrend to have them make me a new set of fiberglass
doors. In this episode, I show how I mounted the new doors on a custom hinge
configuration. Here's the problem: Fiberglass doors don't have enough
material to mount a hinge on them without breaking the front of the door from
weight. My job was to design a plate of metal that I could weld the hinges
onto and then bolt onto the doors. Here's how I did it....
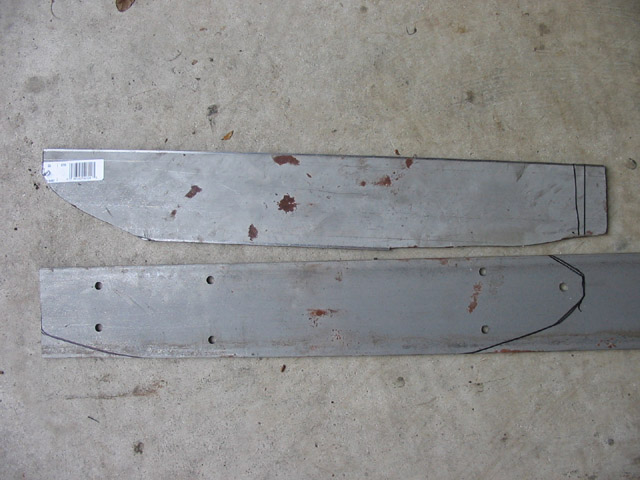
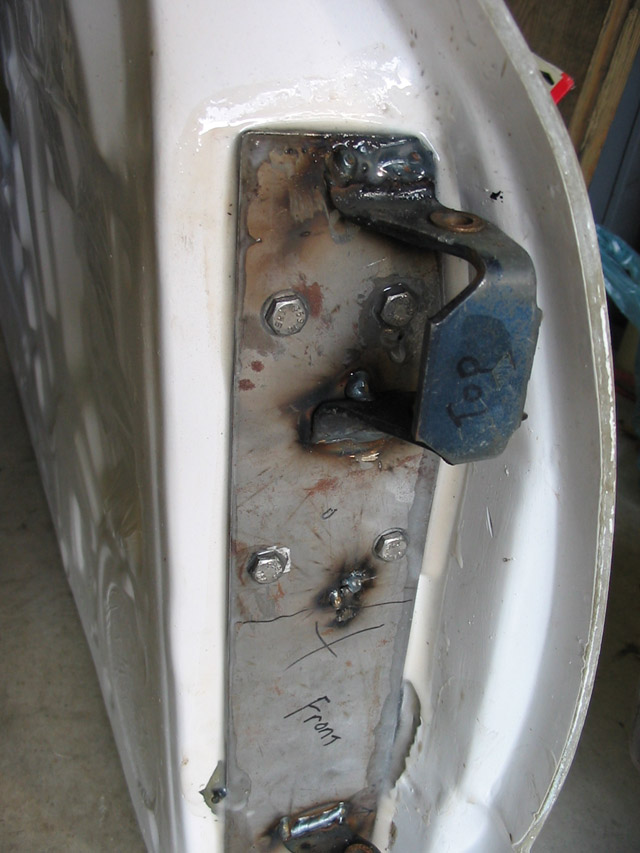
I started out
by cutting elongated "D" shapes out of metal. The goal here was to sandwich the
plates between the fiberglass on the front side of the door to add strength and
for a place to weld the hinges to. Once the plates were cut out, I drilled holes
in them so I could through-bolt the plates and clamp them together once on the
door. I welded nuts onto the back side of the inner plate so that it holds them
in place while bolting up to the door.
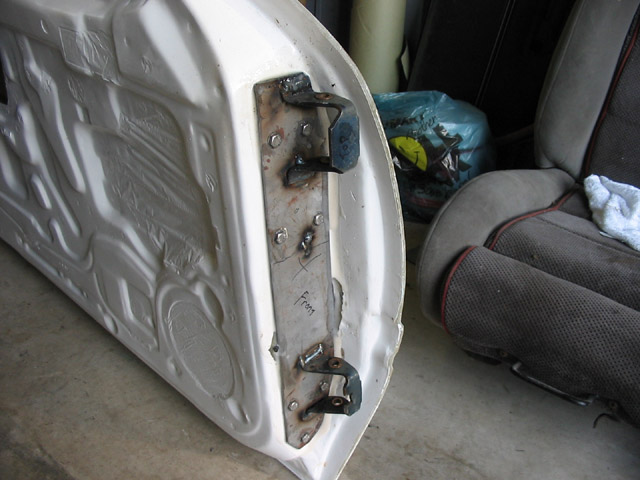
Once the plates were bolted
to the door, I had my friend hold the door in place while I checked all the body
lines and made sure it was within spec of the body. I then tack welded the
hinges in place. After checking to see if the door would open and close without
binding, I took the door back off and unbolted the hinge plates so I could weld
the hinges on permanently and not catch the door on fire.
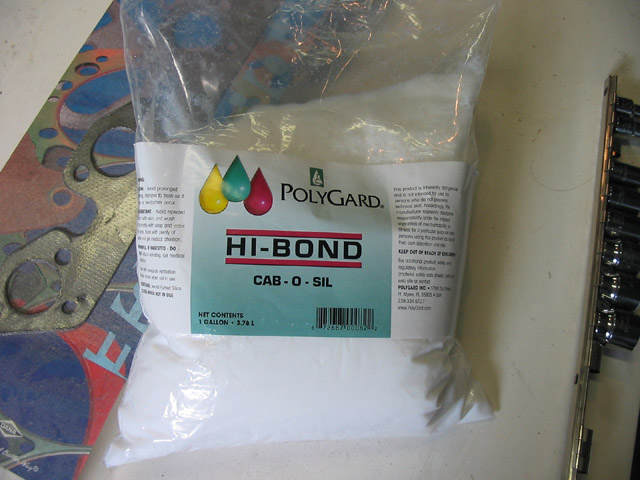
Then, to permanently mount
the hinge plate onto the door, I used epoxy along with the bolts. To do this,
I needed to mix some Cab-O-Sil with the epoxy to make a paste so it wouldn't run
off the plates when I tried to assemble them on the door. Cab-O-Sil is basically
Talc Powder. It's used in fiberglass work when a high build paste is
needed. I used this brand of Cab-O-Sil......
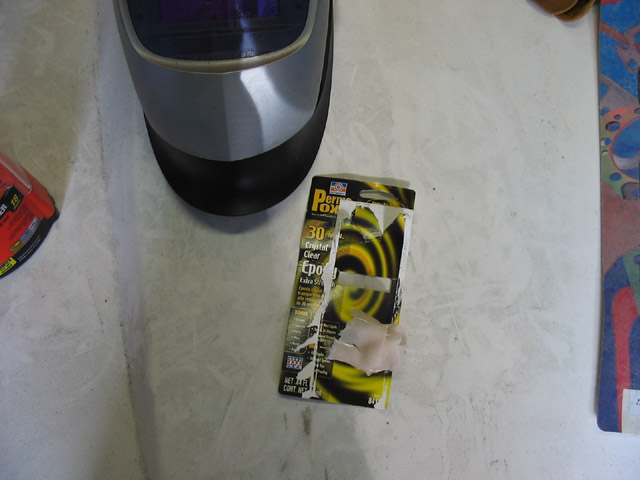
....And mixed in proper
amounts of this cheap epoxy. I wasn't really happy with this product. It said 30
minute drying time, but it really took 3 weeks to fully cure. The Cab-O-Sil
might have affected it some, but I don't think they put enough hardner in to
begin with.
After the two were mixed
together to make a paste, I put a decent amount on each plate's respective side
and assembled them. I cranked the bolts down and the epoxy paste oozed out of
the crevices filling the gaps. I took my finger and removed the excess from the
front plate.
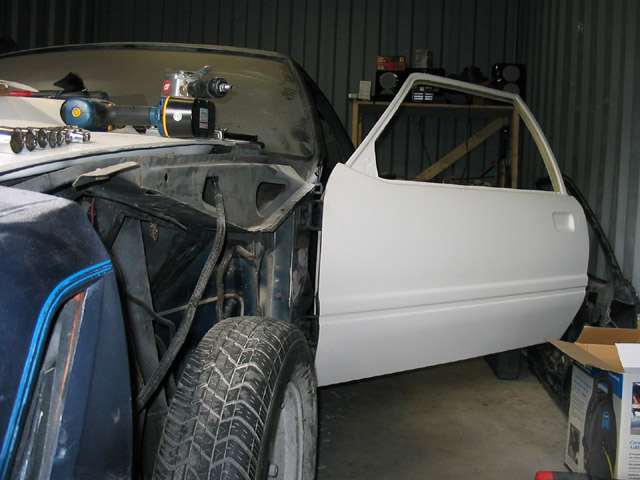
Here, the door is done! I
used new hinge bushings from 5.0 resto.com.
Wide open and working
perfectly.
The next part of the door
install calls for cutting out the holes where the latching mechanism for the
striker pin is located. I got that completed and the door opens and closes. I
cut out the original section for the inside unlatching lever and remounted it on
the door. Everything works perfectly. I am in the process of mounting the
outside door handle. I'll have pics of that soon. These doors are far lighter
than a factory door! They have provisions molded into them for the original roll
up windows. I am in the process of trying to mold my own plexi-glass windows for
it. I plan on using the original window regulator, but intend on lightening it
slightly with "speed holes" lol.
And for the few Emails I got asking if
FourBanger still runs.... OF COURSE SHE STILL RUNS!!! And NO, I haven't
sold her.
The Volvo head is on hold for a few more months until I get
this paint job done. I have a brand new TIG welder, but can't use it until my
new house is built. I'll get to it soon.